
Cá vamos. Prometido ? Cumpre-se.
Here we go. Promised. To keep.

1ª. volta :
Começamos com fio de grossura normal e agulhas 3,5 mm. 28 malhas.
1st. row:
Regular yarn and needles 3,5 mm. 28 stiches.

Começamos pela base do pé:
Volta nº. 2
em tricot: 1 malha, uma laçada,
Starting from the sole:
2nd. row:
tricot as it is: 1 stitch, 1 loop.

12 malhas, 1 laçada, 2 malhas, 1 laçada , 12 malhas
12 stiches, 1 loop, 2 stiches, 1 loop, 12 stiches

feitas que estejam as últimas 12 malhas, sobrará somente 1 na agulha. Terminamos a volta com 1 laçada e a última malha.
Being done the last 12 stitches, surely you will have just one left on your needle. To conclude the row, make 1 loop and the last stitch.

Volta nº. 3
Fazemos as malhas em meia , tal como se apresentam. Aqui não há laçadas novas. Teremos agora 32 malhas.
3r. row:
working the stitches as they show. Here there are no new loops. We we have now 32 stitches.

4ª. Volta :
2 malhas como se apresentam, 1 laçada, 12 malhas
2 stiches , 1 loop, 12 stitches

1 laçada, as 6 do meio
1 loop, the 6 stitches from the middle of our work

1 laçada, 12 malhas
1 loop , 12 stitches
agora em vez de só uma malha no fim da volta , teremos duas. Fazemos 1 laçada e essas duas malhas para concluir a volta.
Now in the end of our row we will have 2 stitches. Make 1 loop and those 2 stitches to conclude the row.

Volta nr. 5
A partir de agora trabalharemos sempre em tricot. Acabámos os aumentos :-) Teremos nesta altura 36 malhas. Está concluída a sola da bota.
row nr. 5
From now on we will work all our stiches in tricot. No more additions :-). We will have now 36 stitches.
Is concluded the sole of the bootie.

Volta nº. 6
fazemo-la em tricot.
Row nr. 5 .
all stitches in tricot

continuando até ao fim da volta. Faremos assim 10 voltas, o que representa 5 carreiras em termos visuais
going on up to the end. We will do 10 rows, always in tricot, which will mean , in visual terms, just 5 rows.

Cá estão, 10 voltas de tricot, vista pela frente do trabalho que representam visualmente 5. Estas voltas serão a altura do pé.
We they are. 10 rows of tricot, seen in the front of our work representing visually just 5. Now we have the sole and "space" for the foot .

no avesso do trabalho ainda teremos visualmente só 4 carreiras. Vamos trabalhar a quinta carreira começando com as reduções.
In the reverse of our work we have visually just 4 rows. Let's start working on the 5th, where reductions start to be done.

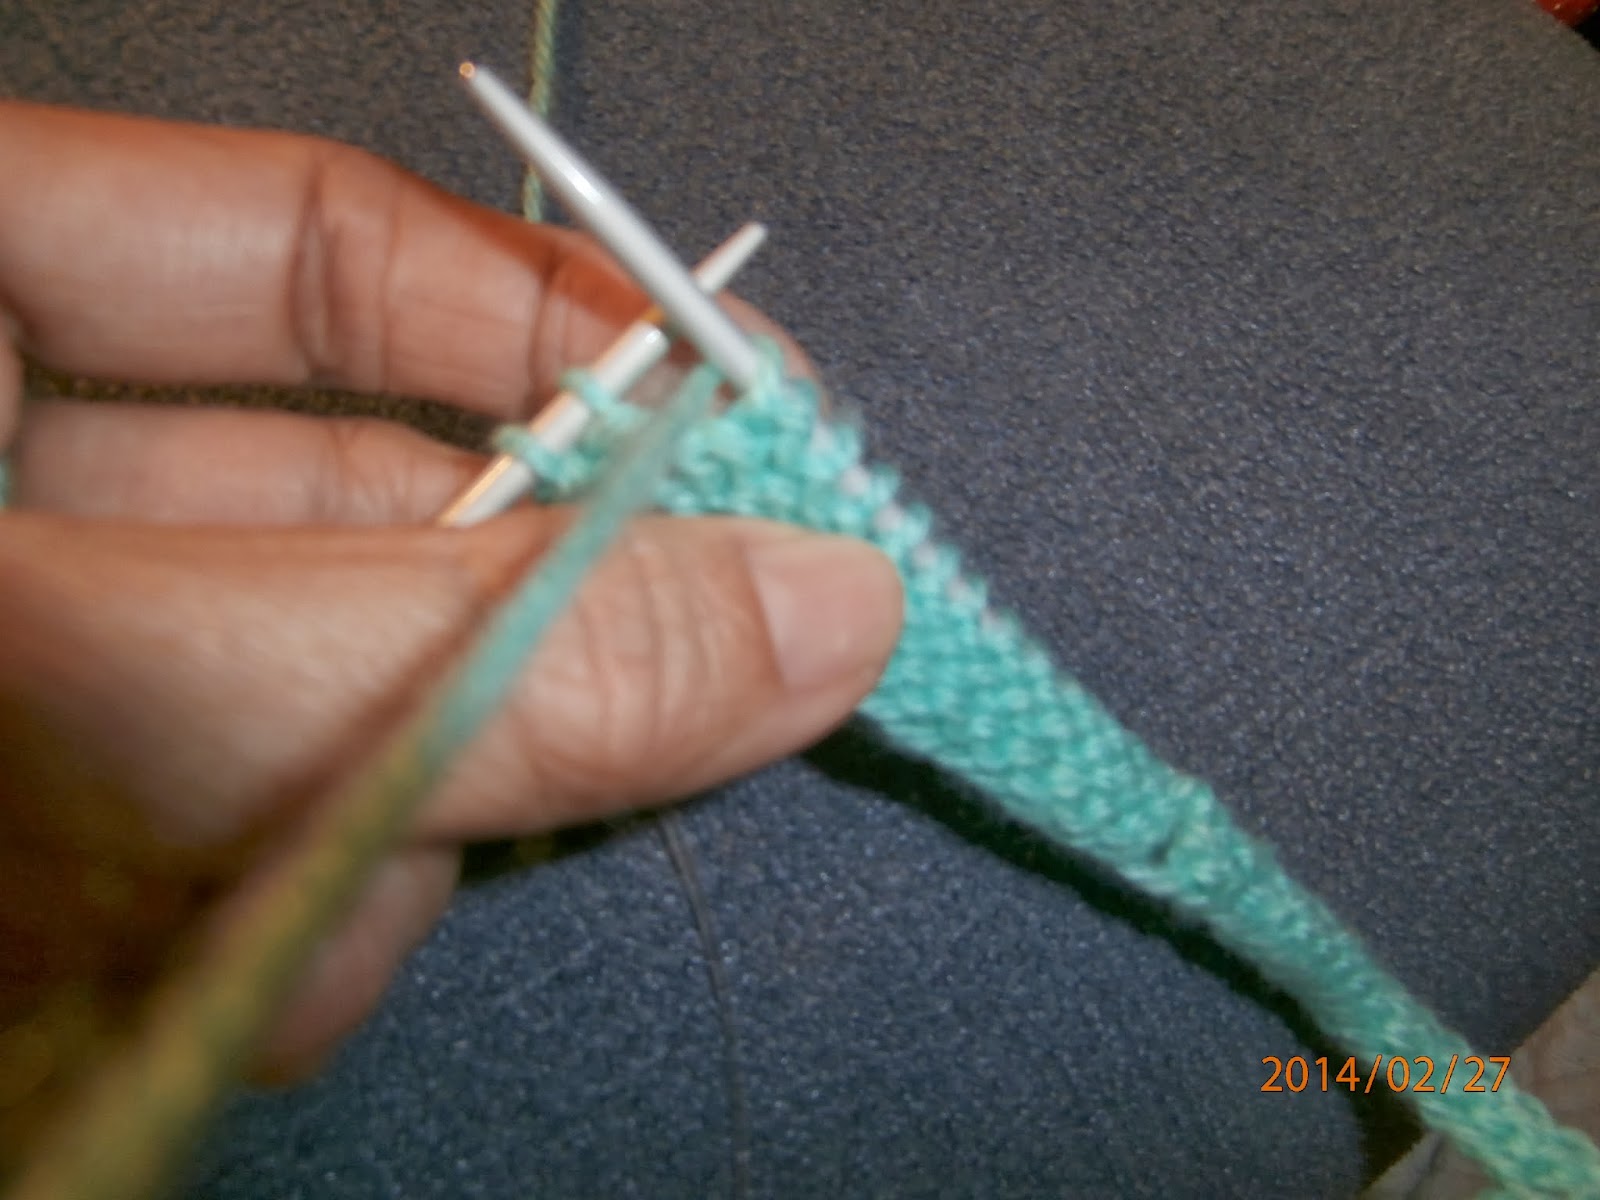
Aqui os alfinetes indicam as 6 malhas do centro, que corresponderão ao peito do pé, as quais servirão de referência para as reduções, feitas à esquerda e à direita destes. Serão somente estas a serem trabalhadas nas próximas voltas. Esta será a única parte do trabalho que pode ser mais "difícil". Mas lá chegaremos sem problemas.
The pins you see on the picture indicate the 6 central stitches which be the top of the foot, being the reductions made on the left and on the right of these stitches. On the next rows, these will be the only these 6 stiches being worked on
This phase is the one that might be considered more "difficult". But we will go through with no problems.

Logicamente , o alfinete aqui é só para exemplificar. Netsa imagem mostra o início das 6 centrais. Vocês não vão precisar dele.
Assim: das 36 malhas que temos na agulha, vamos iniciar a nossa volta, tricotando 14 malhas .
Como podem ver, o alfinete define a primeira das 6 que vamos manter até ao fim das reduções.. A 15ª malha, vai "desaparecer" pois vamos tricotá-la junto com a que está marcada com o alfinete.
Of course, the pin at the image is just for reference of my instructions. You will not need it.
So: from the 36 stitches we have in our needle, let's knit 14 .
As you can see, the pin indicates the first of the 6 central stitches we will keep working up to the end of the reductions. Our 15th stitch is about to "disappear" once it will be knitted with the first of our main 6, marked with the pin.

cá está. "matamos" a 15ª malha, conjuntamente com a 1ª. do nosso grupinho de 6.
here it is . We make the 15th stitch "disappear" together with the first of our main 6.

Aqui o alfinete "mudou de sítio" e agora mostra a última das nossas 6 malhas centrais.
Já tínhamos trabalhado a primeira das seis com a primeira redução à direita. Agora fazemos 4 malhas e vamos reduzir à esquerda, tricotando juntas a última do nosso grupo de 6 (aqui facilmente reconhecível pelo alfinete) e a primeira do grupo de 15 malhas restantes.
Here the pin "changed position", indicating now the last of our 6 central stitches.
We had already worked the first one of those six on the first reduction on the right side, now we work 4 and we will make the reduction on the left, by making "disappear" the first of the 15 stitches still on our left needle. Therefore, we will knit the last of our main 6 ( easily spotted by the pin) with the first of our last 15.

ficamos com 14 malhas em cada agulha, para além das 6 centrais, só são trabalhadas nas reduções, à esquerda e à direita. Já explico. Como vêm, estamos a trabalhar no avesso.
we have now 14 stitches left, on the right and on the left, which we will not work with unless for the reductions. I explain. As you can see we are working on the reverse.

viremos agora o nosso trabalho para o direito. Conseguem ver onde está o primeiro remate à esquerda e à direita das nossas 6 malhas centrais? Agora, cada vez que estivermos a trabalhar na frente, só tricotaremos estas 6 malhas. NADA MAIS.
let's turn our work to the front side.
Can you see where the fist reductions are, on the left and right of our central main stitches?
Now, each time we knit in the from of our work ONLY these 6 with be done.

Tricotadas a 6 malhas pela frente do trabalho
knitted the 6 stitches on the front side of our work

viramos a botinha para o lado do avesso e vamos fazer a segunda redução, à esquerda e à direita destas nossas 6 malhas centrais.
turning the bootie to the reverse and we will make the second reduction, on the right and left sides of our central 6 stitches.

usando a agulha da esquerda enfiamos nela a última das que estão na agulha da direita e "matamo-la" junto com a primeira das 6 que estão na agulha da esquerda.
using the left needle we "collect" the last stitch we have on the right needle and make it "disappear" by knitting it together with the first one of our main central six, on the left needle.

tricotamos aos outras 4, e vamos fazer a redução à esquerda, "matando" a primeira das que estão na agulha da esquerda com a última do nosso grupo de 6 centrais.
kniting the other 4 and we will make "disappear" the first of the stitches on our left needle by knitting it together with the last of our main central six stitches.

viramos o trabalho para a frente e tricotamos somente as 6 centrais.
turning our work to the right side and knit only the 6 central stitches.

novamente no avesso do trabalho, vamos à terceira redução, repetindo os passos: colocamos na nossa agulha esquerda a última das que estão na agulha direita e tricotamo-la junto com a primeira das nossas 6 centrais.
once again in the reverse of our work, we will proceed with the third reduction, by repeating the previous steps i.e. placing the last stitch on the right needle on the left needle and knit it together with the first of our main six.

e o mesmo no lado esquerdo.
and the same on the left side.

e já temos esboçada a biqueira da nossa botinha.
and we can see already the toes area.

aqui vê-se melhor
here you can see it better

continuamos a fazer reduções, sempre no avesso do trabalho, até ter somente 8 malhas em cada agulha, para além das nossas 6 centrais.
we continue reducing until we have just 8 stitches on each of our needles, besides our main central 6

na última volta das reduções, sempre do lado do avesso teremos na agulha do lado direito: 8 malhas, as nossas 6 centrais (depois de feita a última redução no lado esquerdo, como se vê na imagem). Agora vamos terminar a volta, já tricotado as remanescentes 8 que estavam na agulha da esquerda.
On the last row of reductions, always on the reverse of the work we have: 8 stitches on our right needle, on main 6 ( after being done the alst reduction on the left side, as you can see on the image). Now we finish the row by knitting the last 8 stitches remaining on your left needle.

pé terminado.
foot concluded.

Teremos agora na nossa agulha , 22 malhas. As nossas 6 centrais e 8 de cada lado.
we will have now , in our needle, 22 stitches. Ou main central 6 and 8 on each side.

Como queremos colcoar uma fita, vamos fazer os"buraquinhos" por ela vai passar.
As we want to embellish our bootie with a ribbon, we have to make "holes" for it to go through.

começamos: 2 malhas, uma laçada, 2 malhas juntas, para compensar a laçada que se acrescentou e repetir. Terá que haver sempre duas malhas e uma laçada entre elas.Assim, mantemos as 22 malhas iniciais.
starting : 2 stiches, 1 loop, two stitches together, in order to compensate the addition resulting from the loop. We do not want to add any more stitches, so if we add a loop we have to reduce a stitch immediately after.

avançando até ao fim ...
going on until the end of our row. ...

aqui vê-se bem. Duas malhas, uma laçada e assim por diante
here you can see perfectly. two stitches, one loop and so on.

uma outra volta pela frente do trabalho e os buraquinhos estão prontos para receber a fita.
another row in the front of the work and our "holes" are done for the ribbon.

vista de lado a nossa bota pequenina...
side seeing

agora fazer o cano do nossa bota. Ei fiz as mesmas 10 voltas, que visualmente dão 5. Aqui é " à escolha do freguês" :-)
now some rows for the ankle/leg. I made the same 10 rows which represent visually just 5. Here it is up to you how many rows you want.

Arrematando de vez as nossas 22 malhas.
Concluding our work by reducing for good all our 22 stitches.

e já está.
and that it.

botinha tricotada.
bootie knitted.

vamos coser a dita cuja. Eu utilizei um fio de cor diferente para que vocês vejam bem os pontos. Logicamente a vossa deverá ser cosida com fio da mesma cor.
Assembling the bootie. I am using thread with different color just for you to see the stitches. Of course you will use the same color.

como não queremos que nada "roa" ao nosso pequenino, apanham-se as malhas de um lado e outro..
as we do not want any seam being "hard" to our little one's feet, we get the stitches from one side and the other.

assim..
like this...

arrematando
terminating the seam.

fazendo o mesmo no calcanhar e no cano da bota..
doing the same on the heel and the ankle/leg.


deixei os pontos soltos para se verem bem. Vocês podem puxá-los um pouquinho mais.
I left my stitches loose to show the way. You can pull them a little bit more.

passando a fita pelos buraquinhos
the ribbon through the holes

dando um laço... comigo ficam sempre tortos. paciência.
making a bow. Mine never end perfectly. Whatever. Is not important.

Et Voilá !!! Botinha para prematuro prontinha para desempenahr a sua função. Espero que a explicação tenha sido clara a suficiente e que , baseada nela, façam muitas ... Terei atingido o objectivo.
Et voilá. Preemie bottie ready to to its job. I hope that the explanation was clear enough and that based on it you make a lot of baby booties. I would than have achieved my goal.
Sem comentários:
Enviar um comentário